This quilt pattern is called "Halloween 1904" by Blackbird Designs. It's one of my favorite quilts because it's done with so many vintage looking fabrics and colors. Don'tcha just love it on this bed?!

heres' mine.

I'm creating a record or tutorial of how I did some of this, partly for myself so I can remember how I did it. ;o)
Here's a fast way to make lots of half square triangles (HST's) when quilting....
There is actually a better way where you draw the triangles 1 1/4" bigger than the finished size of the triangles and sew 1/4 " away from each side of the straight lines. then you cut on the diagonals. But I forgot about that, so I did this:
Layer the two fabrics right sides together and draw lines on the same size that you would cut the triangles. Draw a diagonal line through the squares. Sew 1/4" away form each diagonal line.

Use your rotary cutter to cut on all the lines.

Press them open. Presto! You get these very satisfying little piles of HST's. :o)

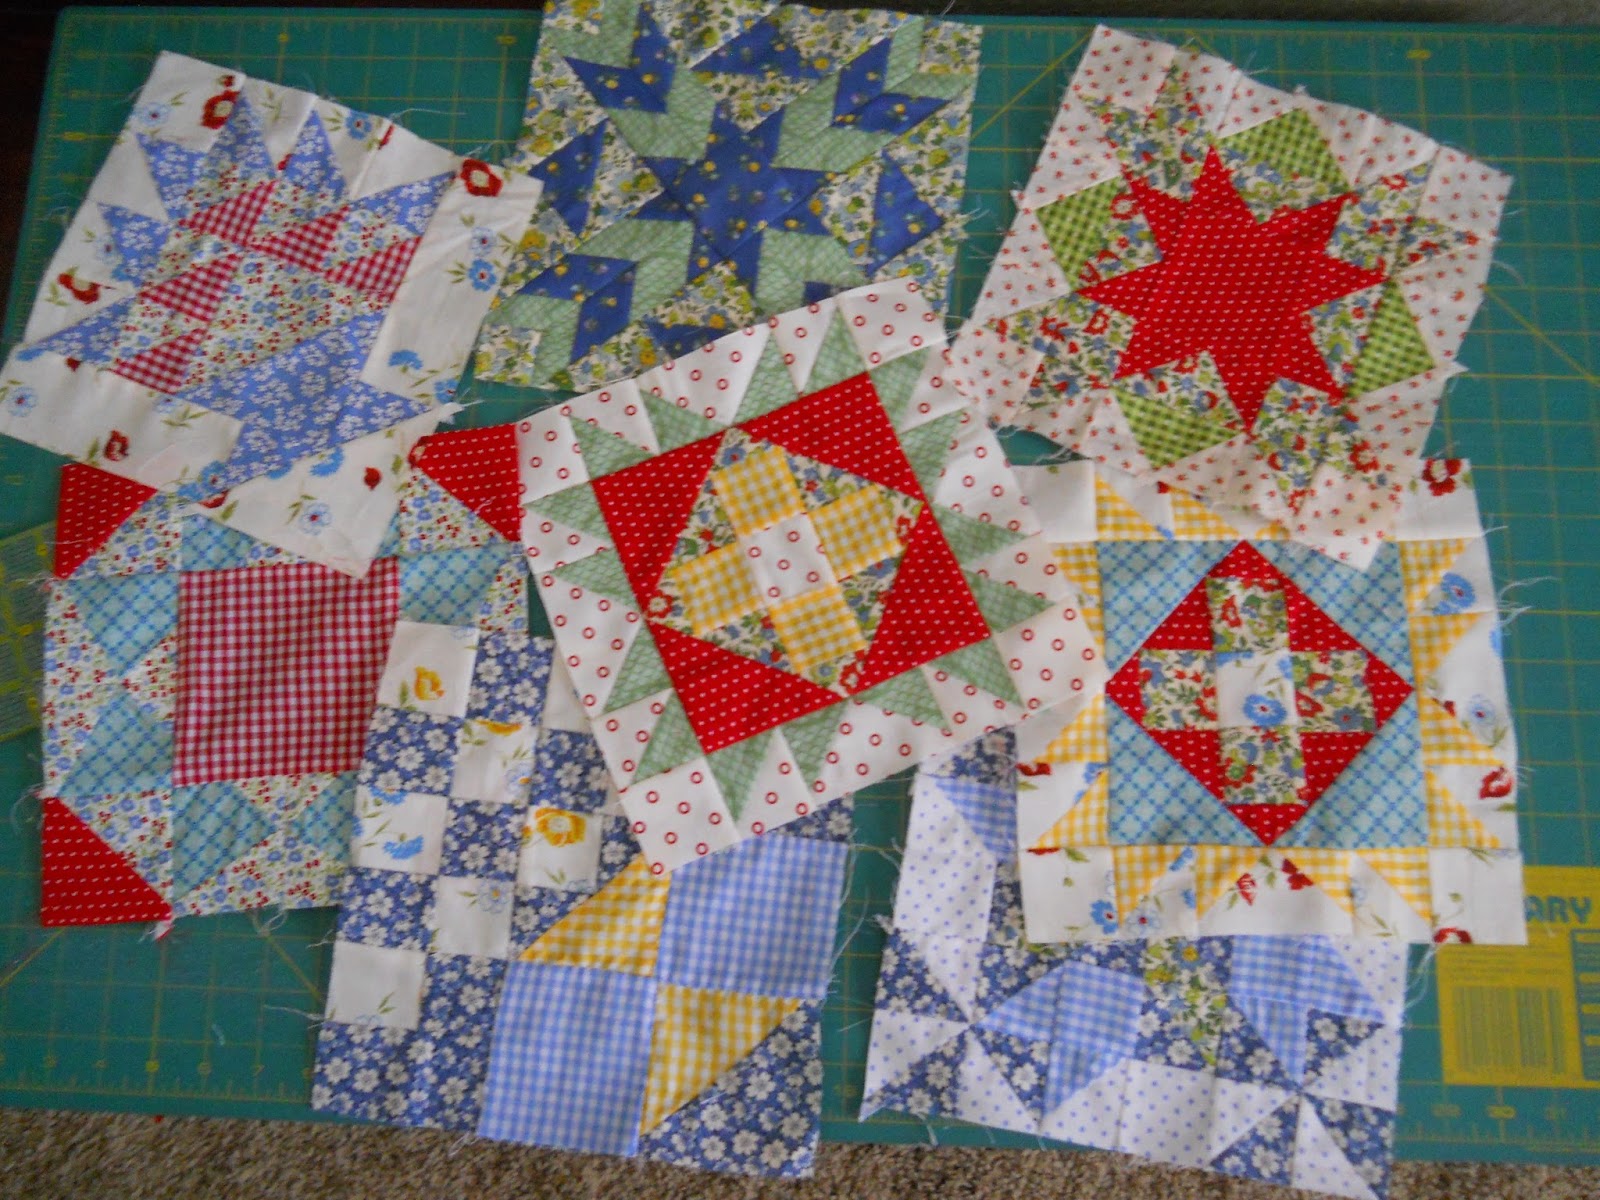
Next I made the squares and appliqued stars on.

Then add the HST's around the edges...
***side note: the colors in these assembly photos look brighter than in real life.

My blocks are smaller than the original pattern. My blocks are 18" with the saw tooth triangles on.
I tried sewing them together stacked in columns, sewn in rows. I stacked it wrong, but it still came out ok. :o) Here's me trying to wrap my head around how to do this...
The third column is layed on top of the second column right sides together in this picture.

Here's the whole thing. The rows are sewn together with threads attaching them to the next row. That way, you don't have to wonder which row goes where. It's all "basted," ready to go.
The only down side is that you have to work with the whole big quilt top the whole time instead of just a few rows at once. But it really is a great way to stay organized so you don't have to keep laying the quilt out again and again.

close up of the threads attached.

All done and quilted
the 3 pumpkins up close.
Again, the oranges are brighter in these pictures than they are for real.

i made up a crow block...


I love the different creams all scrappy...
I quilted squiggly diagonal lines...easy.

the occasional rusty brown homespun plaids really make it...

the binding and backing are awfully cute too..
Ready for Halloween!