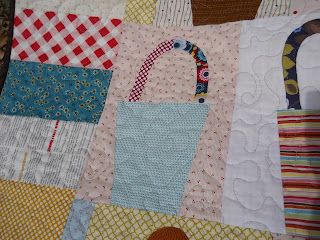
Making liberated baskets!
Here's a rough tutorial..
Make all your background squares the same height, but different widths. some skinny, some wide.
This one is 12 1/2" tall by 9" wide.
Cut in half at varying measurements.
This one happens to be at 6 1/4"
Cut a basket piece the same height as the bottom piece of background. 6 1/4" in this case.
Lay the basket square on top of the background. Cut the sides of the basket AND the background together at the same time at whatever wonky angle is pleasing to you. That way they will line up for sewing. Here one side is cut and the extra piece of basket removed.
Cut the second side.
Discard the middle piece of background (that was under the basket) Then sew the basket and two sides together.
Use wonder under or your favorite applique method to applique the handles on the top half of the background. I used a straight stitch on my handles. Then sew the top and bottom together.
Wha-La! Lots of baskets....
some favorite baskets...
this one got a two colored handle...
You should be able to see the cute home machine quilting on this one.
Liberated Basket Quilt!


2 comments:
Beautiful.
Very nice,,
Please check out my site reset hotmail password.
Post a Comment